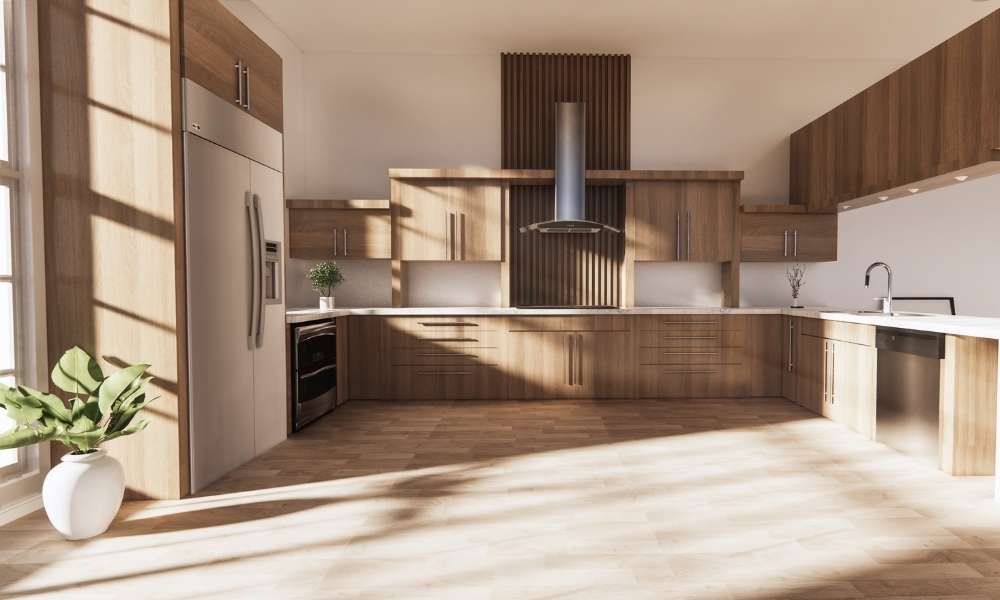
Discovering water damage in your kitchen can be a distressing event, especially when it affects the heart of your home – your kitchen cabinets. These vital pieces not only hold your dishes and food but also contribute significantly to the overall aesthetic of your kitchen. Whether the damage is from a leaky pipe, a flood, or simple humidity, it’s essential to act swiftly to mitigate further damage and restore your kitchen’s functionality and appearance. In this guide, we’ll explore the steps you can take to repair water-damaged kitchen cabinets, ensuring they look and perform their best once again. From identifying the extent of the damage to the final touches of restoration, we’re here to help you through the process.
Identifying Water Damage
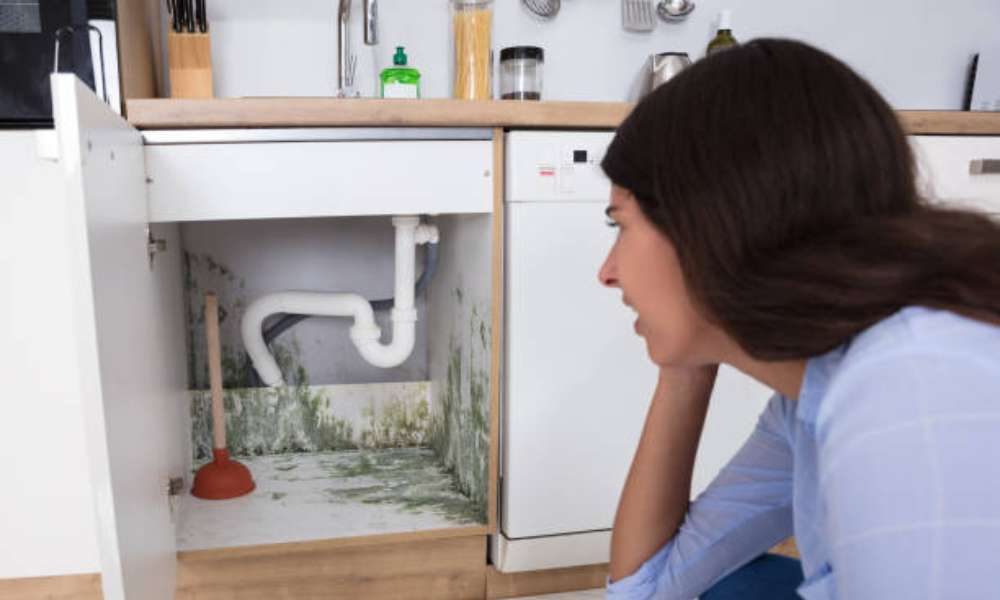
The first step in addressing water damage to your kitchen cabinets is to accurately assess the extent of the destruction. Visible signs of damage include discoloration, swelling, or warping of the wood, as well as mold or mildew formation. It’s crucial to inspect not only the exterior surfaces but also the interior sections of the cabinets, as hidden areas often harbor unseen damage. Peeling or cracking of the finish and a musty odor are additional indicators that water has compromised the integrity of your cabinets. Identifying the severity of the damage early on is essential for determining whether restoration is feasible or if replacement is the more prudent choice
Steps to Repair Water-Damaged Cabinets
Step 1: Evaluate and Plan
Before initiating any repair work on your water-damaged kitchen cabinets, it’s critical to conduct a thorough evaluation to create a comprehensive plan of action. This involves assessing the extent of the damage, determining the materials needed for repairs, and deciding if the work can be done as a DIY project or if professional assistance is required. With extensive damage or where mold is present, consulting with a professional may be necessary to ensure the safety and integrity of the repairs. Planning also includes estimating the time and cost involved, allowing you to prepare adequately for the restoration process.
Step 2: Remove Affected Cabinets
After evaluating the extent of the damage and planning your course of action, the next step involves carefully removing the water-damaged cabin from their current position. This step is crucial for preventing further damage to the surrounding areas and for allowing a thorough inspection and repair process. Firstly, ensure that you have disconnected any appliances and removed all contents. Then, carefully unscrew and detach from the wall or floor, taking care to handle the possibly weakened structures with care. This step may require assistance, especially for upper cabinets, to ensure safety and prevent accidents.
Step 3: Dry Thoroughly
After the water-damaged cabinets have been safely removed, it’s imperative to dry them thoroughly. This step cannot be rushed, as lingering moisture can lead to further deterioration or mold growth. Begin by wiping down all surfaces with dry, absorbent towels to remove as much moisture as possible. Then, place in a well-ventilated area, preferably with fans circulating air around them. If available, a dehumidifier can significantly speed up the drying process by reducing the moisture level in the air. For deeply soaked cabinets, it may take several days to completely dry out. Check regularly for signs of mold or mildew, and address them immediately if found.
Step 4: Repair Warping
Water damage can often lead to the warping of wooden components in kitchen cabinets, significantly affecting their appearance and functionality. Repairing warping involves a meticulous process of gently reshaping the wood back to its original form. Start by applying gentle heat using a hair dryer or heat gun, keeping a safe distance to avoid scorching the wood. Then, using clamps, carefully realign the warped area, applying steady pressure. For severe warping, it may be necessary to dampen the wood slightly before applying heat and pressure. This process can be time-consuming and requires patience, as the wood needs to be held in place for several days or even weeks until it retains its corrected shape.
Step 5: Treat Mold and Mildew
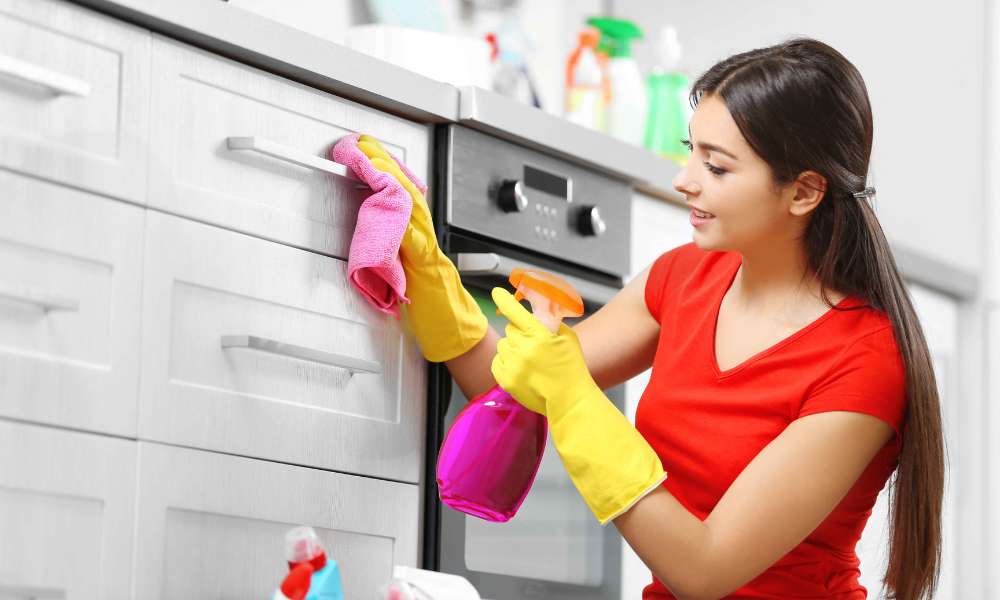
Treating mold and mildew is essential for repair kitchen cabinets with water damage to a safe, healthy state. Start by wearing protective gear: gloves, goggles, and a mask to prevent inhaling spores. Mix 1 part bleach with 3 parts water for a cleaning solution, or use distilled white vinegar for a natural option. Apply generously to affected areas with a sponge or spray bottle, ensuring you cover crevices and hidden spots. Let the solution sit for at least 10 minutes before scrubbing with a stiff brush to remove the mold and mildew. Then, rinse thoroughly with clean water and dry completely with a towel. It’s crucial to dry fully to stop the mold from returning. For severe mold infestation that compromises the cabinet’s structure, replacing the affected parts may be necessary.
Step 6: Refinish
Refinishing repair water-damaged kitchen cabinets is the final step in the restoration process, ensuring that your cabinets not only function well but also look as good as new. Begin by sanding down the surfaces to remove the old finish and any imperfections caused by water damage. It’s essential to wear a mask during this process to avoid inhaling dust. Once the cabinets are sanded smoothly, clean off any dust with a damp cloth and allow them to dry completely. Next, apply a primer suitable for the material, which will help the new paint or stain adhere better and provide a more even finish. After the primer has dried, apply your chosen finish, whether it’s a paint or a stain, with a brush or roller for an even coat. It might require multiple coats to achieve the desired look, with sufficient drying time between each coat.
Preventing Future Water Damage
- Regular Inspections: Routinely check plumbing fixtures and appliances for leaks, damage, or wear.
- Sealing Surfaces: Keep wood cabinet surfaces sealed to prevent water penetration.
- Proper Ventilation: Ensure adequate ventilation in your kitchen to mitigate moisture build-up.
- Immediate Repairs: Address any plumbing or appliance issues promptly to prevent long-term damage.
Conclusion
By following the detailed steps outlined, from removing and drying the cabinets to treating mold and refinishing, homeowners can save a significant amount of money and preserve the aesthetic appeal of their kitchens. It is crucial, however, to recognize the importance of preventing future water damage through regular inspections, sealing surfaces, proper ventilation, and timely repairs. By adopting a proactive approach to maintenance, you can protect from water damage, ensuring they remain a beautiful and functional part of your home for years to come.