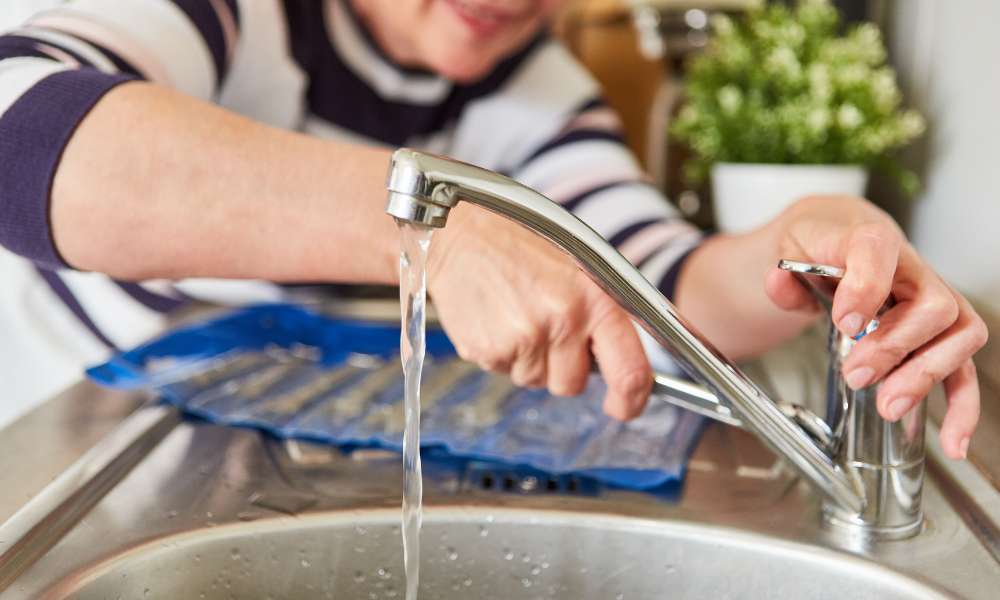
Are you looking To upgrade your kitchen with A sleek and functional Moen kitchen faucet? Installing one yourself can be A rewarding DIY project that saves you money and adds A touch Of personalization To your kitchen. In this step-by-step guide, We will walk you through How To Install Moen Kitchen Faucet Whether you’re a seasoned DIY enthusiast or a novice, Our instructions are designed To be easy To follow. You’ll be enjoying the benefits Of your new Moen faucet in no time. Let’s get started!
The Benefits Of A Moen Kitchen Faucet
Moen faucets have gained an esteemed reputation for durability and long-term performance thanks to their use of top-quality materials and craftsmanship, prioritizing practicality over style by often including innovative technologies like motion sensors that facilitate touchless operation for touchless daily tasks. Their variety of styles and finishes complement any kitchen decor while their commitment to water efficiency means you’ll save on water costs without compromising performance.
What You’ll Need
- Adjustable Wrench
- Plumber’s Tape (Teflon Tape)
- Bucket or Towel
- Basin Wrench
- Channel Lock Pliers
- Screwdriver
- Safety Glasses
Pre-installation Preparation
Start by switching off the water source to your kitchen sink to prevent unexpected water flow, then clear away the area beneath it to make room for maneuver. Lay towels or buckets down under your sink as a catchall to catch any liquid that might leak during installation, and make sure that all necessary tools and materials have been purchased as per the previous section’s list. Review installation instructions provided with your Moen tap as well as watch tutorial videos or read user reviews to gain additional knowledge.
Disconnect The Water Supply
Step one is to disconnect the water supply safely. Start by shutting off both hot and cold water valves located under your sink before using an adjustable wrench to loosen and disconnect supply lines from the tap. In case any residual water should come dripping out. Be prepared to catch any drips using towels or buckets if necessary. By disconnecting safely, this step paves the way for an effortless installation of your new Moen faucet.
Remove The Old Faucet
Removing the old faucet Is the next essential step in kitchen faucet installation. Start by loosening And removing any nuts Or bolts and securing them To the sink Or countertop using An adjustable wrench Or basin wrench. As they provide access To tight spaces more easily. As you disassemble it, Be mindful of supply lines And any remaining connections (e.g. a mounting bracket). Gently lift out of Its position while being careful To clear away any residue or debris On its path out.
Install The New Faucet Body
Start by installing the faucet body into its mounting hole On either your sink Or countertop. Making sure that It aligns perfectly with the supply line holes And any additional fixtures if any Are required. Secure It using its included mounting hardware – Typically nuts and washers – Use a wrench To tighten connections But be careful not To overdo So as To damage both the faucet and sink surface. Ensure It remains level And straight, Adding both aesthetic appeal And functionality To your kitchen space.
Install The Sprayer Hose
Attach one end of the sprayer hose to its designated outlet on the Tap body using either a quick-connect fitting or threaded connection. Making sure that it’s secured firmly but without over tightening to avoid damage. Next, thread the other end through a mounting hole in the sink or countertop. Secured with a mounting nut to keep it from moving around, taking care not to create kinks or tangles in its path.
Connect The Water Supply Tubes
Start by connecting the hot And cold water supply lines To their respective inlets On the Tap body using An adjustable wrench, Taking care not to over-tighten. Be sure To cover threads with the plumber’s tape (Teflon tape) So as To create an airtight seal against leakage. After attaching all tubes securely, Turn on all valves beneath your sink For water supply – Be mindful of leaks Or drips And address them promptly if they occur.
Check For Leaks
Start by inspecting all connection points, Such as water supply lines, Sprayer hose, And the base Of the Tap. Look out for signs Of seepage or drips. Any leaks should often Be resolved through minor adjustments such As tightening connections Or adding a plumber’s tape. Next, Turn on both hot And cold water sources in turn so as to check for immediate leaks during operation as well as hidden ones that might emerge with time. Finally, Let the water run For several minutes To make sure there aren’t Any hidden ones developing over time.
Installation Tips For Moen Kitchen Faucet
- Prepare Your Workspace: Clear the area under the sink, Have towels or A bucket handy To catch any water. And ensure proper lighting For visibility.
- Gather Tools and Materials: Make sure you have all the necessary tools And materials, As listed in the manufacturer’s instructions.
- Disconnect Water Supply: Turn off the water supply To the sink And disconnect the old Tap. Ensuring there’s no water flow.
- Label and Organize: Label or take pictures of the old faucet’s connections to assist in the reassembly of the new one.
- Use Plumber’s Tape: Apply plumber’s tape To threaded connections To create A secure, Leak-free seal.
- Hand-Tighten First: When connecting components, Start by hand-tightening, And then use A wrench for the final snug, Avoiding overtightening.
- Check for Leaks: After installation, Thoroughly check for leaks and drips, Addressing any issues immediately.
- Test theTap: Turn on the water supply and test the faucet’s operation. Including hot And cold water, And any additional features like A sprayer.
- Seek Professional Help: If you’re unsure about any step, Consider hiring A professional plumber To ensure A flawless installation.
Conclusion
Installing a kitchen faucet can be A rewarding DIY project that enhances both the functionality And aesthetics of your culinary space. Following the manufacturer’s instructions And our helpful tips can ensure A successful And quick installation experience – prioritizing safety first. Preparing the workspace in advance, And paying attention To details such As sealing And leak checks Are critical. With your Moen faucet securely in place And free from leaks you’ll soon enjoy its convenience And style in making your culinary space more efficient And visually appealing!


