Proper roof ventilation is crucial for maintaining not only the longevity of your roof but also the air quality within your home. Effective ventilation systems prevent a myriad of issues, from mold growth and structural damage to excessive energy costs. This article will guide you through calculating the necessary ventilation for your ceiling, ensuring you can enjoy a durable ceiling and a healthier living environment. We’ll explore how to measure your attic space, determine the right amount of intake and exhaust, and discuss the benefits of getting it right. Additionally, we’ll look at the risks associated with inadequate aeration, such as moisture problems and decreased indoor air quality, helping you understand why this is a vital aspect of home maintenance.
Understanding Roof Ventilation
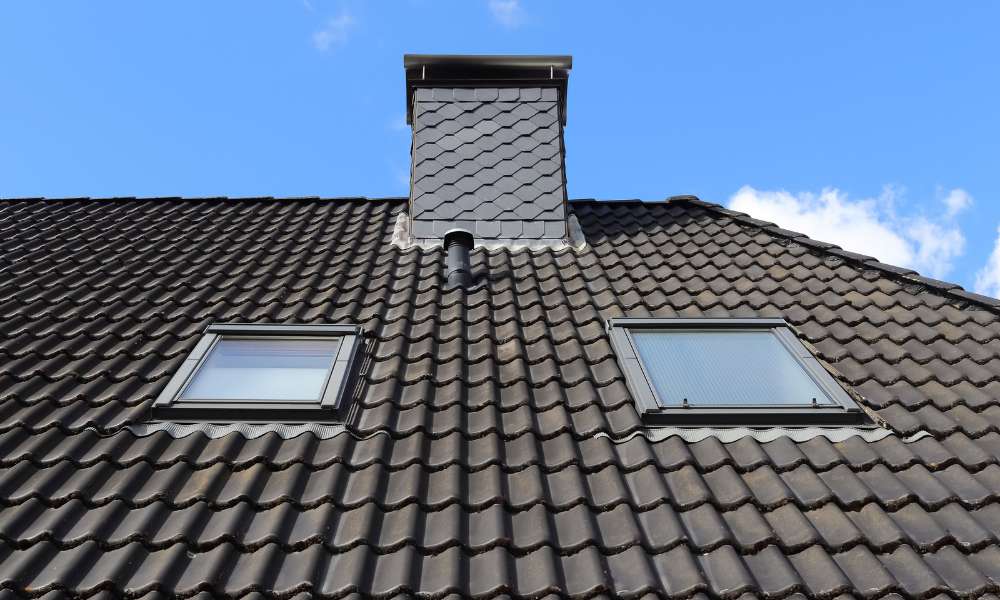
Roof aeration is a critical system designed to circulate air through your attic, preventing heat and moisture accumulation that can lead to ceiling rot and reduced energy efficiency. This system includes intake vents, which draw fresh air into the attic, and exhaust vents, which expel the warm, moist air. Key types of roof vents include ridge vents that run along the roof’s peak, soffit vents located under the eaves, and gable vents at the end walls of the attic. Each type plays a pivotal role in maintaining optimal air flow across the entire attic space, thereby enhancing the overall health of your ceiling and ensuring a comfortable home environment. Understanding when to use a kitchen ventilation is also essential for maintaining indoor air quality and preventing odor.
The Science Behind Roof Ventilation
Understanding the science behind ceiling ventilation illuminates how crucial proper airflow is in maintaining attic conditions. Roof ventilation operates on a simple principle: it allows fresh air to enter the attic through intake vents, while warm, moist air exits through exhaust vents. This continuous flow of air helps regulate temperature and prevents moisture accumulation, which is vital for thwarting mold growth and structural damage. By controlling attic temperatures, ventilation also reduces the burden on HVAC systems, leading to lower energy costs and extending the life of your roofing materials. calculate your roof ventilation effective roof aeration is therefore indispensable for both safeguarding the structural integrity of your home and enhancing its energy efficiency.
Signs of Inadequate Roof Ventilation
Recognizing the signs of inadequate roof ventilation is crucial for preventing costly damages. Symptoms include ice dams in winter, which form when heat escapes into the attic and melts snow on the roof, moisture buildup leading to mold and mildew, and unusually high energy costs as HVAC systems struggle to maintain comfortable temperatures. Ignoring these signs can have serious consequences, such as structural damage to the ceiling and attic, deteriorated insulation effectiveness, calculate your roof ventilation and potential health issues from poor air quality. Timely addressing these indicators by enhancing aeration can safeguard your home’s structural integrity, improve energy efficiency, and ensure a healthier living environment.
Calculating Your Roof Ventilation Needs
Calculating the correct ventilation needs for your ceiling is essential for optimal performance. The widely accepted guideline, known as the 1:150 rule, suggests that for every 150 square feet of attic floor, there should be 1 square foot of ventilation split equally between intake and exhaust. To determine your attic’s square footage, measure the length and width of your attic space and multiply these figures. This total will guide the amount of aeration required to ensure efficient airflow, calculate your roof ventilation thus preventing moisture buildup and regulating attic temperatures. Proper calculation and implementation of these guidelines can significantly enhance your roof’s longevity and your home’s overall energy efficiency.
Tools and Materials Needed for Calculating Ventilation
To accurately calculate your roof ventilation needs, a few essential tools are necessary. A reliable tape measure is vital for determining the dimensions of your attic space. Additionally, a calculator will help you quickly compute the required ventilation area based on the 1:150 rule. For those looking for more precision and ease, various software and mobile apps are available that can assist in these calculations. These digital tools often provide additional features like visualization and error-checking, ensuring your calculations are precise and tailored to your specific roofing structure. Equipped with these tools, homeowners can confidently plan and implement effective aeration strategies for their roofs.
Step-by-Step Guide to Calculating Roof Ventilation
To accurately calculate ceiling ventilation, start by measuring your roof’s total area. Use a tape measure to determine the length and width of your attic space, then multiply these figures to find the total square footage. Following the 1:150 rule, for every 150 square feet of attic space, you need 1 square foot of ventilation. This should be equally divided between intake and exhaust vents. For example, if your attic is 1500 square feet, you need 10 square feet of total ventilation, with 5 square feet each for intake and exhaust. Accurately measuring and calculating your aeration needs ensures efficient air flow, preventing moisture-related issues and extending the lifespan of your ceiling.
Enhancing Roof Ventilation: Tips and Tricks
Enhancing roof ventilation can significantly improve your home’s energy efficiency and prevent moisture-related issues. If certain areas of your attic seem hotter or more humid, consider adding additional vents to these spots to balance airflow. Upgrading to larger or more efficient vent types, such as ridge vents or turbine vents, can also be effective. It’s advisable to evaluate your ventilation system during regular ceiling inspections or if you notice signs of inadequate aeration, such as ice dams or mold growth. By proactively managing and upgrading your roof’s aeration system, you can ensure it operates at peak efficiency, protecting your home from damage and reducing energy costs.
Professional Assessment and Installation
Hiring a professional for roof aeration assessment and installation is crucial when dealing with complex ceiling designs or persistent ventilation issues. Professionals can provide a thorough evaluation, identifying any deficiencies in current systems and recommending optimal solutions tailored to your specific ceiling structure. They ensure that both intake and exhaust vents are appropriately balanced and installed according to building codes, which can be critical for maintaining warranty conditions. Expect a detailed inspection of existing ventilation, advice on improving airflow, and skilled installation of new components if necessary. Utilizing professional services guarantees that your roof aeration is effectively optimized, enhancing your home’s comfort and extending the lifespan of your roof.
Conclusion
Properly calculating and implementing roof aeration is pivotal for the health and longevity of your building. Efficient ventilation not only extends the life of your ceiling but also enhances indoor air quality, making your home safer and more comfortable for everyone inside. It prevents issues like mold, structural damage, and excessive energy costs. As you have seen, understanding the basic principles and steps involved in assessing your aeration needs is within reach. Take action today: measure your space, calculate the necessary ventilation, and consider consulting a professional to ensure optimal installation. Prioritizing roof aeration is a smart investment in your home’s future health and efficiency.