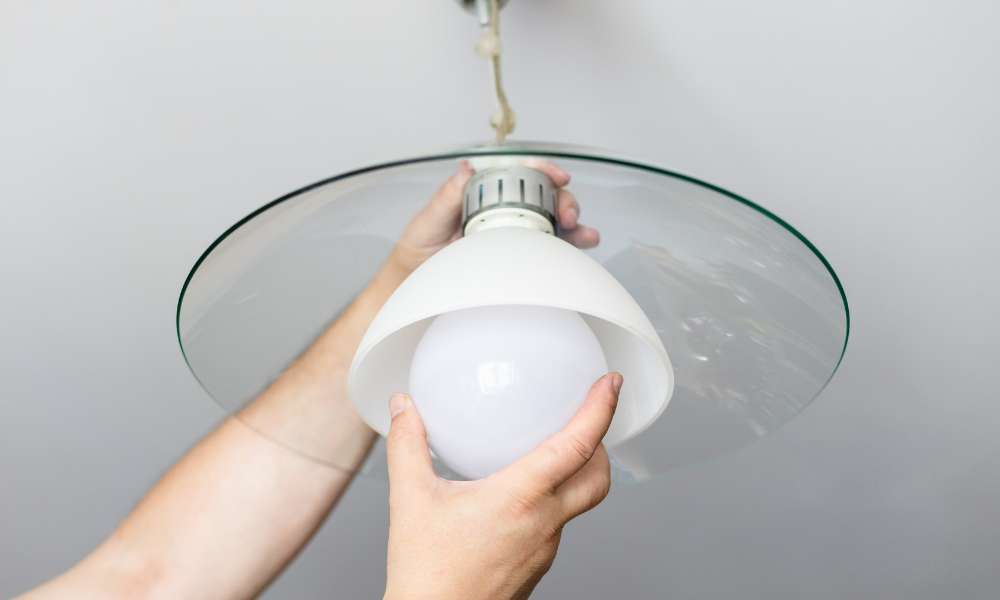
The ambiance of a room is often defined by its lighting, but the old phrase “let there be light” can sometimes be complicated by the absence of suitable wiring, especially when it comes to ceiling lights. However, with modern lighting solutions, there are creative ways to brighten your space without tearing down walls. In this guide, we’ll walk you through innovative methods to install a ceiling light fixture without standard wiring – perfect for renters and homeowners looking for an easy DIY upgrade. From battery-powered lighting to smart home solutions, there are options for every situation and style. Let’s illuminate your space, no wiring necessary!
Assessing Your Space and Options
Before you start any DIY project, it’s crucial to assess both your space and available lighting options. For ceiling lighting without wiring, the key is finding a solution that matches your room’s dimensions, your residence’s constraints (like renting), and your own technical expertise.
Understanding the Room’s Dimensions
The size and shape of your room will dictate the type of lighting you need. A smaller room might do well with a single, centrally-mounted light, while a larger or irregularly-shaped space could require multiple light sources. Be sure to measure the height of your ceiling and the area you want to illuminate.
Exploring Available Lighting Options
There’s an array of lighting options that don’t require any hardwiring. These include battery-operated LED lights, plug-in pendant lights, and even solar-powered lighting if your space receives enough natural light. Consider the aesthetics of your room and the intended use of the lighting. Is it for ambiance or task? Modern LED lights can be very energy-efficient and can mimic the warm glow of incandescent bulbs.
Battery-Powered LED Ceiling Lights
One of the most straightforward solutions is battery-operated LED ceiling lights. These lights typically come with a remote control, which makes them ideal for dimly-lit spaces or rooms without any lighting at all. They are easy to install, move, and maintain, as they do not require any direct connection to your electrical system.
Step-by-Step Installation of Battery-Powered LED Lights
- Choose the Best Location: Decide where you want your new light to shine. It should be in a prominent and functional position.
- Prep the Area: Clean the surface where you will be mounting the light. Ensure it’s dry and free from dust or debris.
- Mount the Light: Battery-powered LED lights usually come with adhesive pads or screws for mounting. Follow the instructions closely to ensure proper installation.
- Insert Batteries: Once mounted, insert the required batteries into the light and test it out.
Remember, with these lights, maintenance will include changing the batteries or recharging the unit, so install them in a spot that’s easily accessible.
Plug-In Pendant Lights: A Stylish Alternatives
For a more decorative and upscale lighting option, consider plug-in pendant lights. These can add a dash of character to any room and come in a wide variety of designs to suit different interior aesthetics. They require no electrical skills – just an available outlet and a hook or mounting bracket for the cord.
Mounting Your Plug-In Pendant Light
- Select the Light and Cord Length: Choose a pendant light that complements your space. Measure the length of the cord you will need to reach the outlet and select a spot on the ceiling.
- Install the Hook or Bracket: Secure a hook or mounting bracket to the ceiling where you want your light to hang. Make sure it’s mounted to a stud for safety or use appropriate anchors if not possible.
- Hang the Pendant Light: Once the hook or bracket is in place, hang the light securely from the ceiling.
- Plug It In: Finally, simply plug the pendant light into the closest electrical outlet. Adjust the height as needed for the best illumination.
Plug-in pendant lights can offer a sophisticated solution while being temporary and easy to relocate if needed.
How To Install A Ceiling Light Without Existing Wiring
Smart Home and Dimmable Battery Solutions
If you want more control over your lighting, smart home solutions are the way to go. Companies like Philips Hue offer battery-operated smart bulbs that can be controlled via a smartphone app or a central hub. They’re ideal for those who want variable color temperatures and the option of adjusting brightness according to their mood or the time of day.
Setting Up Smart Home Ceiling Lights
- Choose Your Smart Light: Select a compatible smart ceiling light or bulb and ensure you have the necessary hub or Wi-Fi connectivity.
- Install the Light: Fix the light to your ceiling or a suitable location according to the manufacturer’s instructions. Typically, smart bulbs and lights fit into existing fixtures.
- Connect and Set Up: Follow the manufacturer’s instructions to connect your smart lights to the app or hub. This often involves turning the light on and off in a pattern to signal readiness for pairing.
- Enjoy Your Customizable Lighting: Once set up, you can control your ceiling lights with your voice via a smart speaker, a mobile app, or a smart switch.
Enhancing Safety and Practical Considerations
While the methods above are relatively simple, it’s always essential to consider safety when installing lighting, especially if you’re not familiar with electrical work. Here are a few tips to ensure a safe and successful project.
Safety Tips for Non-Wired Installation
- Ensure the area you’re working in is dry to avoid electrical hazards.
- Use a sturdy step ladder or platform to reach the ceiling safely.
- If you’re mounting any light using screws, be certain to screw directly into ceiling joists or use appropriate anchors for support.
- If unsure, consider hiring a professional electrician to assist with the installation or at least to consult on the project.
Lastly, remember to keep practical considerations in mind. If you’re in a rental, discuss installation options with your landlord to avoid conflicts and potential damage to the property.
Experimenting with Different Lighting Arrangements
Once you’ve successfully installed your new ceiling light, it’s time to experiment with different lighting arrangements to find the ambiance that best suits your space. Consider mixing and matching different types of lighting – perhaps a combination of overhead and wall sconces for layered lighting.
Layering Your Lighting Effectively
- Task: Aim for brighter, cooler lights in areas where you work or read.
- Ambient: Use warmer, softer lights for overall room ambiance.
- Accent: Play with the color and placement of lights to highlight features or artworks in the room.
Remember that the best lighting design is as functional as it is beautiful. Try out different combinations and don’t be afraid to rearrange your lights until you find the perfect balance.
Conclusion
Adding a ceiling light without wiring might seem like a daunting task, but with the right approach and understanding of your space and options, it’s a project that can be both fun and rewarding. Whether you opt for the simplicity of battery-powered LEDs, the elegance of plug-in pendants, the convenience of smart lights, or a mix of these solutions, the key is to choose a setup that enhances the comfort and functionality of your room. Enjoy your newly illuminated space and the personalized touch it brings to your home!


